Materials:
-8 squares of upholstery fabric or another thick fabric(2 of the squares are for handles, so if you have something else you want to use for handles, you only need 6)
-another fabric for the lining
-sewing machine or needle and thread
-pins
-seam ripper
Directions:
1. First, sew 6 of your squares together to make a big 2 squares by 3 squares rectanle.

2. cut a peice of fabric the same size as the 3 squares by 2 squares rectangle, fold both of them the hamburger way, sew their sides together.
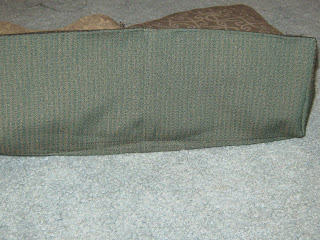
This is what my liner looks like rightside out:

Follow steps 3-4 for both the liner and the outside
3. pin gussets by folding a triangle where the height is the side seam and the bottom fold, and pin. Then sew.

This is what it will look like after sewing the gussets:

4. cut the triangles off, outside of the seam so it looks like this:

5. iron the folds on the outside bag where you want the bag to stand up so you have a more structured base.
6. put the outside bag inside the liner so all of the seams line up, right sides together. Pin the top edges together. Sew around the top, all the way around except for a 4 inch gap so you can turn the bag rightside out.

7. pull the outside fabric through the hole.

When you are done, the bag will look something like this:
Now for the handles:
(If you have something other than upholstery fabric, like a tie or ribbon, to use as your handles you can skip steps 9-12),
*do steps 9-12 twice
9.Cut a square in half, and sew the long ends together


Would this work with regular fabric too? I have a bedsheet that I want to recycle.
ReplyDeleteDeanta
certainly, although I would put interfacing in to give it structure.
ReplyDeleteTotally awesome, Anna! Glad to see that you're much more productive this summer than I have been so far...
ReplyDeleteKeep it up. Look forward to reading about your ongoing summer projects.
~Lindsey
So cute! I love this idea and I have quite a few of these around myself. :) I actually have a project in the works right now using some.
ReplyDeleteI will still have a ton left over though, so I need to do this. I'm of the opinion that one can never have too many bags. Great tutorial too.
Thanks for linking up at Craftastical!